It was time to get the door ready. I bought the door from craigslist for $10. It was pretty dirty from being in someone's shed or something. I cleaned it well, scraped off any loose paint and put on 2 coats of Polycrylic to keep the paint from peeling anymore lest one of my rugrats decides to eat paint chips.
Hanging the door was definitely a 2 person job. A third person would have been helpful too. The hardware was heavy and so was the door. By the way, the panes are glass but have some sort of textured coating that obscures the glass. Looking from a side angle, you can't see in really at all. The hardware is from Grainger and was less than $150 for the track and hangers. Much better than the $400 stuff.
Front view:
Sliding open:
Here is a comparison with the old door jamb. I gained like 7 or 8 inches in the opening. Don't miss the cutest helper on the planet.
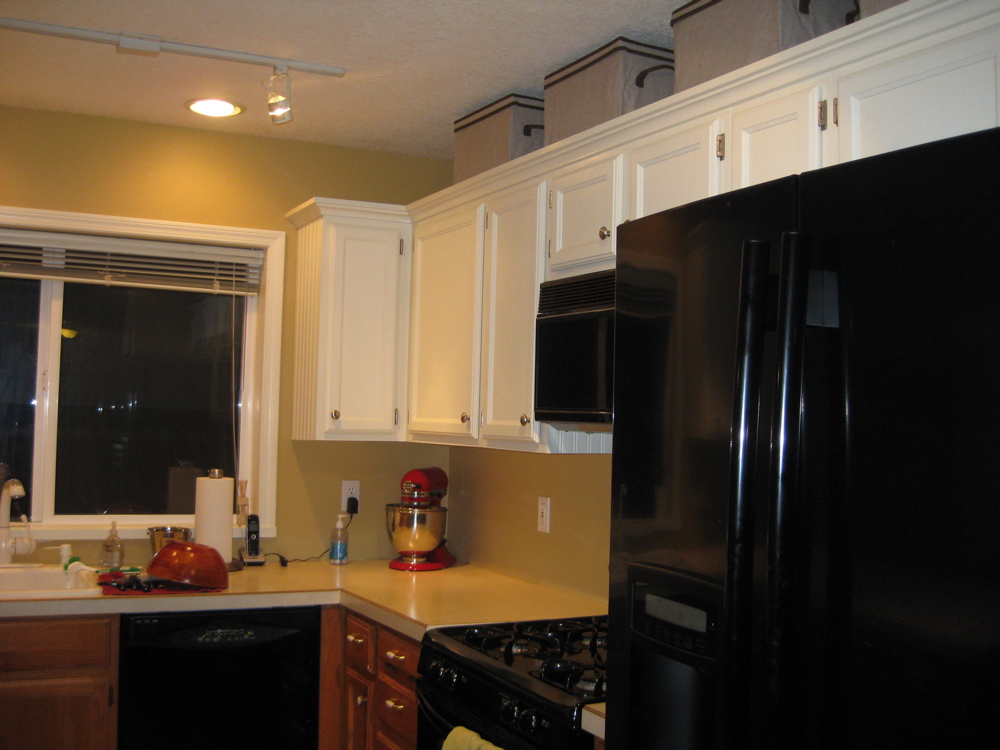
Here is another view...from standing on the counter. Because everyone does that when they come over.
People kept asking how I would keep the door next to the wall and not swinging out. And believe you me, the kids were pulling it out like crazy until I put this little do-hickey on. I found it with all the decking/framing connectors at the hardware store. I had to bend part of it up to suit my needs. Think outside the box people.
I built a cabinet to house the drawers.
And built this big, heavy pullout. Building it was the easy part. Getting all the drawer slides to work together took days.
Here I was testing fit:
How it looks when it is pulled out.
After I painted it and put a handle on the pullout.
Front view:
Drawers pulled out all the way:
Requisite pinterest photo with drawers all pulled out at staggered intervals. I lined the drawers with some shelfliner from Walmart. I looked and looked for alternatives but finally just settled with the grasscloth-lookin' stuff. It's wipeable which was the first priority.
Somewhat loaded up. I have so much more room to use! The pantry is the same size but has a lot more access and better use of space so I can fit more in it. BAM!
If you look strait on the door, you can see somewhat inside. Vaguely.
But, again, from the side, you can't see what's in there hardly at all.
Almost forgot. Since the door doesn't "latch" I put a lock on the top. You know, to keep the rugrats out when I don't want them gettin' in to things. The block acts as a stop for the door as well. If I had made the stop deeper then the lock could have sat better, but this works.
I had it done just in time for Thanksgiving and I can say it passed with flying colors. I had 25 people at my house, including my own hubs and kids and it stood the test. I love it. It is all I imagined.