Since I had already painted the
kitchen cabinets and the
kids bathroom cabinets and the
master bath cabinets, all that was left was the laundry room cabinets. After several days of
"pinning" and not doing anything, I decided to get after it. I followed the same process as my other cabinets in the house.
--Removed the doors, liquid sanded everything, primed with 2 coats of either Kilz 2 latex or Zinsser Cover Stain (oil based).....


...and then 3 coats of topcoat. I use Sherwin Williams ProClassic Paint (latex enamel) in a custom color match that matches all my existing trim and doors.

I even painted underneath the cabinets, which are laminate. Oil based primer is best in that case.

Notice the crack? I hated it...

...so I caulked it. I heart caulk.

I decided to add a shelf with crown moulding like I had on my
kitchen cabinets. I got the original instructions from
here. (One of my fave websites, btw.)

This is where I am dry-fitting the cleats.


And dry-fitting the shelf

Here I am nailing the cleat. Nail gun=best investment I have ever made. And it was only like 150 bucks for the compressor and nail gun on a Christmas sale or something.

Nailing the shelf.

Then I added the crown between the cabinet and the shelf.

Since I didn't want to look at exposed plywood edge, I added some edging. All this material is leftovers, btw.

One side of the shelf has like a 1/2 inch reveal between the shelf edge and the top of the crown...

And the other side has like an inch. Whatever. Let go of perfection and just go with it. I wasn't willing to fix it. I filled that huge gap on the end of the shelf with a little piece of wood.

Both sides of the cabinets had big gaps next to the wall.

Covered those with some trim too. I had to buy that but it was only a few dollars for 4 feet.

Then I caulked the crap out of it.

I didn't get a picture of it primed but I did 2 coats of primer and 2-3 coats of topcoat.

Then added the doors back on when the hardware arrived. I ordered it on ebay, which in my experience is cheaper than going to orange or blue to get it.


Sorry about the lighting. It is a small room with no windows and one small light. I'll try to get better light when I do the whole "reveal" of the laundry room.....next up: wainscoting. Of course.


 ...and then 3 coats of topcoat. I use Sherwin Williams ProClassic Paint (latex enamel) in a custom color match that matches all my existing trim and doors.
 I even painted underneath the cabinets, which are laminate. Oil based primer is best in that case.
 Notice the crack? I hated it...
 ...so I caulked it. I heart caulk.
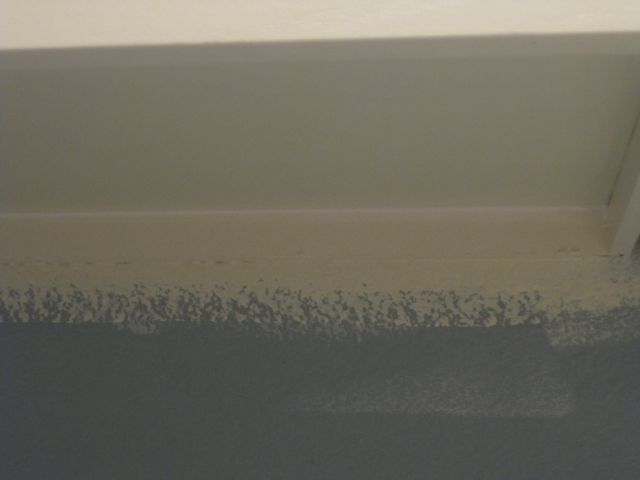 I decided to add a shelf with crown moulding like I had on my kitchen cabinets. I got the original instructions from here. (One of my fave websites, btw.)
 This is where I am dry-fitting the cleats.
 And dry-fitting the shelf
 Here I am nailing the cleat. Nail gun=best investment I have ever made. And it was only like 150 bucks for the compressor and nail gun on a Christmas sale or something.
 Nailing the shelf.
 Then I added the crown between the cabinet and the shelf.
 Since I didn't want to look at exposed plywood edge, I added some edging. All this material is leftovers, btw.
 One side of the shelf has like a 1/2 inch reveal between the shelf edge and the top of the crown...
 And the other side has like an inch. Whatever. Let go of perfection and just go with it. I wasn't willing to fix it. I filled that huge gap on the end of the shelf with a little piece of wood.
 Both sides of the cabinets had big gaps next to the wall.
 Covered those with some trim too. I had to buy that but it was only a few dollars for 4 feet.
 Then I caulked the crap out of it.
 I didn't get a picture of it primed but I did 2 coats of primer and 2-3 coats of topcoat.
 Then added the doors back on when the hardware arrived. I ordered it on ebay, which in my experience is cheaper than going to orange or blue to get it.
 Sorry about the lighting. It is a small room with no windows and one small light. I'll try to get better light when I do the whole "reveal" of the laundry room.....next up: wainscoting. Of course.

 I took the cushions off (they screw off from the bottom) and washed the chairs. I just used some soap and water (oxy clean, actually). Check out the before and afters of the dirty spots!!!


 Don't forget the undersides of the arms!
 I primed with a gray primer since I was painting the chairs black.
 I can't believe I don't have a photo of when I was painting them black. All that time in my garage drying and I didn't take ONE photo?
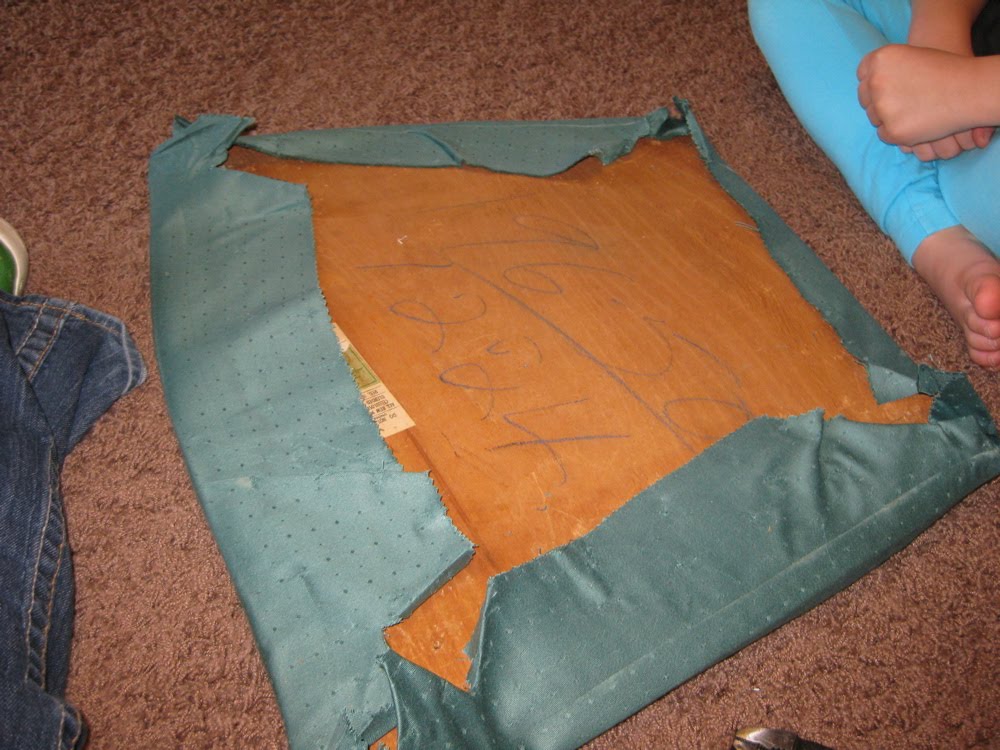
 Here is how I layered it: wood seat, old foam, new foam (foam is exact same size as wood seat), batting, fabric. (Batting and fabric large enough to pull to under side of seat.)
 I ordered this fabric online from fabric.com.
 Pull batting and fabric around and staple. I started in the middle of one side, then switched to the opposite side.
 Then again on the other 2 sides. Just to be even.
 Then stapled my way out to the corners.
 Then I trimmed off some of the corner fabric to make it easier to work with.
 Another view:
 I found that the screw had trouble going through the fabric and batting. It just picked up the batting and wound it around and around the screw. Weird. So then I cut a little spot where the screw would go into the wood.
 All stapled up:
 Flip it over and admire your handy work. I didn't worry too much about the pattern. Trying to make them all match would make me lose my mind. Plus I only had so much fabric to work with.
 Then screw it back into place!
 About the black color. It is wrong. It is too gray. I painted the table (no photo here) first and that black was too green. Yes, green. Then this was too gray. Since it is so humid and all right now here in Oregon, I am going to just have to wait until it warms up to repaint it all with a true black. Any advice on that? But for now they work and look great! Don't you think?