I made a trip to the thrift store to see what I could find. I found these two things. I don't know what they are. Baskets/trays of some kind. One would have probably been fine but since there were two, I got them both. Now what?
 First, I primed them because I certainly couldn't leave them gold. And painted them white.
 Then I grabbed a piece of half inch board that I had laying around. I have been doing so much painting lately that I refused to paint the board. Plus, I am impatient like that sometimes. I played around with the arrangement and tried to use the hooks from my old jewelry solution.
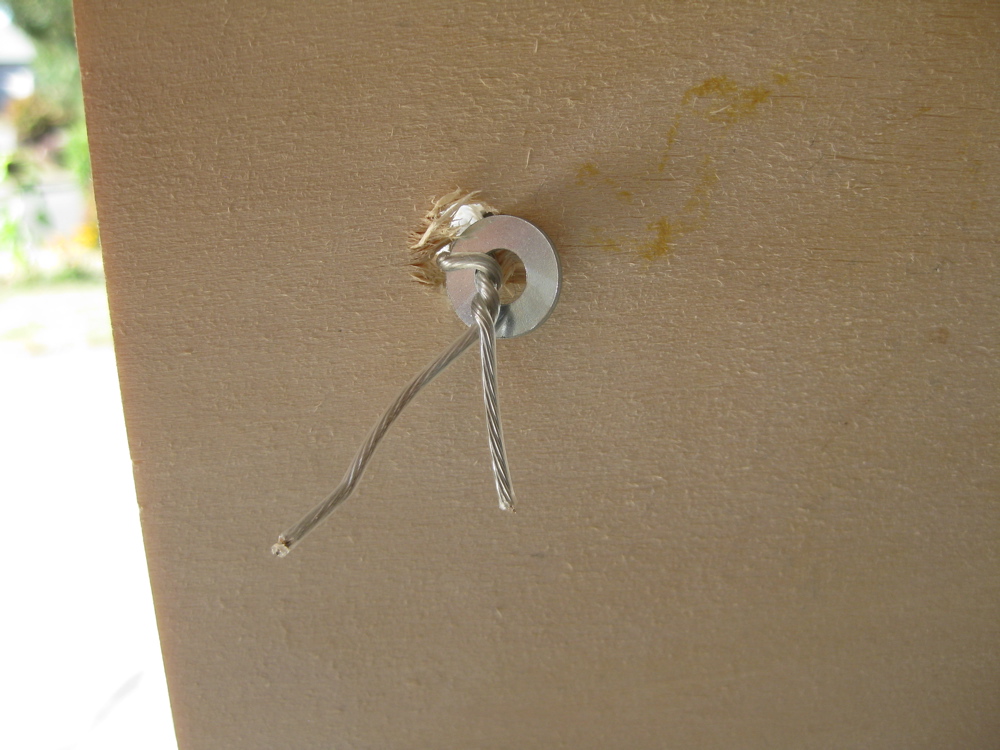
 I had to rig a way to hold the baskets on the board. I drilled a hole right behind the upper corners of the baskets and threaded some picture hanging wire through the hole, around the basket and back through the hole.

 Then I twisted it around a washer to hold it in place.
 What are the odds that I had two more of the EXACT same hooks collecting dust in my tool drawer? I had to throw them on too.
 I have plans to do something in the middle so I left a space there. Probably put some knobs on there or something to hang bracelets and what not.
 I hung up what I had. I still need to pick up some s-hooks so that I can hang some necklaces from the sides of the baskets or wherever I feel like it.
 My earrings with just hooks hang nicely wherever I want them. The ones that clip closed, i.e. hoops, hang well on the wire of what would be the middle of the baskets as well as at the edges.

 A convenient bonus is that since the baskets protrude from the board, I have little "shelves" at the top to hold things that won't hang well...like larger hoops with funky closures or wide/flat bracelets, as well as my little container that holds all my studs.

 I did recently see someone hang studs with lace. I will have to consider that. I don't really have a lot of studs anyway so I probably will just stick with the little plastic container.
I like this solution better than when it was right on the wall. When I want to rearrange my room, I can just remove the holder (which I just screwed right into the wall) and move it to it's new location.