I had been itching to make a change in our master bedroom. These "before" photos are kind of old but basically show what the room looked like before I started. Different things were hung on the wall and I changed the bedding a bit but you get the idea.
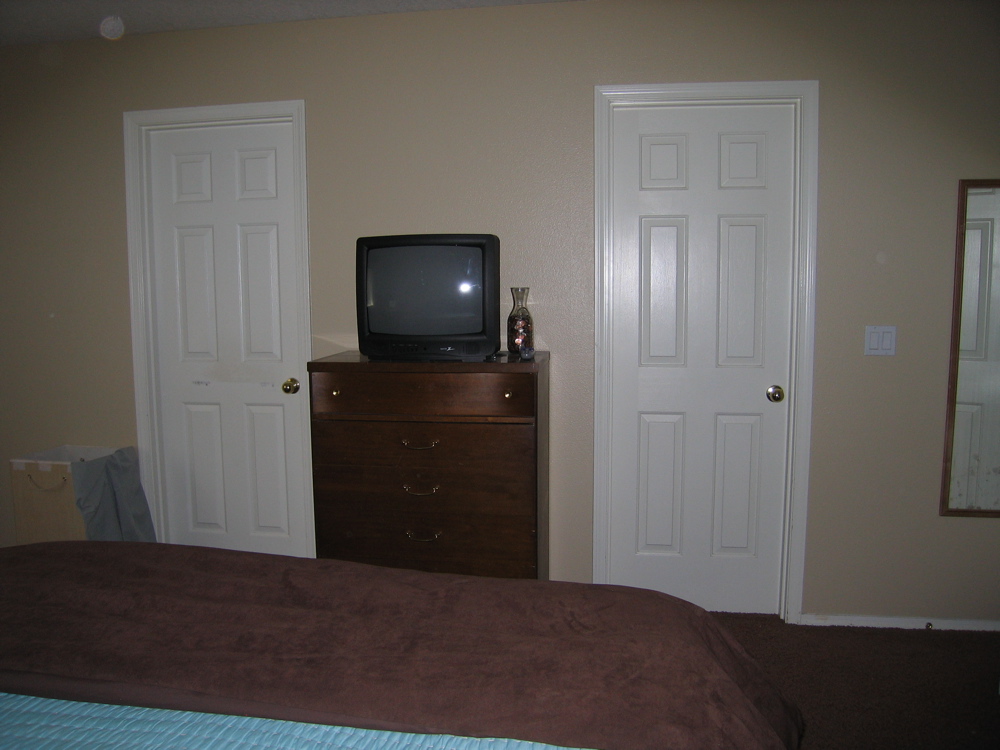


 Here is the wall in question. It is the one behind the bed.
 In the bathroom redo I used luaun for the wall but this time I couldn't find any at Orange. Even the guy helping me couldn't find it. So I used something new this time. It is 1/8 inch hardboard. One side is smooth, the other rough. I measured where the outlet cutouts needed to be. I personally think this was the hardest part to get right. I measured where the rectangle would be, drew the rectangle, drilled a hole in each corner of said rectangle and then used my jigsaw to cut it out.
 I used liquid nails for paneling to hang it. Plus brad nails at stud locations.
 Make sure and dry fit before you start slathering glue everywhere.


 I used two full sheets (4x8) and then I needed a little strip at the end.
 Next I added the top and bottom trim pieces. They are MDF 1x3's. And they are sitting on the hardboard so they are flush with the top and bottom of the sheet.

 I used blue tape to figure out how to space my battens. I started with the one that would cover where the 2 large sheets come together and from there went every 14 inches. I made adjustments if it came too close to an outlet. So they are anywhere from 14-15 inches apart.
 You really have to measure for each batten separately, to account for slight variances in height. Trust me on this one.
 I added an MDF "sashbead" to the top, nailing from the top town into the trim piece.
 Here is where we will stop for the day. My hubs took the camera on a week-long backpacking trip. (For some reason he thinks amazing mountain views you only see once or twice in a lifetime is more important than documenting my room redo.) Anyway, from here I caulked all the joints and/or spackled and sanded where needed. Then I primed (2 coats) and painted (2 coats). More to come. Stay tuned!

My wife is awesome~
ReplyDeleteHello, I love your blog. I just looked through & you do such a great job! My cousin Collin Creek referred me to your blog because I was talking to him about refinishing furniture! Anyway, I LOVE DIY & am obsessed with decorating. I will definitely be following your blog. I'm excited to see how your bedroom turns out!
ReplyDelete